
Table of Contents
Turbocharger systems are marvels of modern engineering. However, when your vehicle suddenly loses power or enters "limp mode," the thrill of forced induction quickly turns into a frustrating diagnostic headache. More often than not, the problem isn’t the turbo itself but a smaller, critical component: the turbo actuator.
In this comprehensive guide, we will demystify turbo actuators. You will get professional-level insights into testing frameworks, cost-saving repair strategies, and how premium sealing components can prevent future failures—all explained simply and directly.
(Estimated reading time: 8 minutes)
What Are Turbo Actuators and How Do They Work?
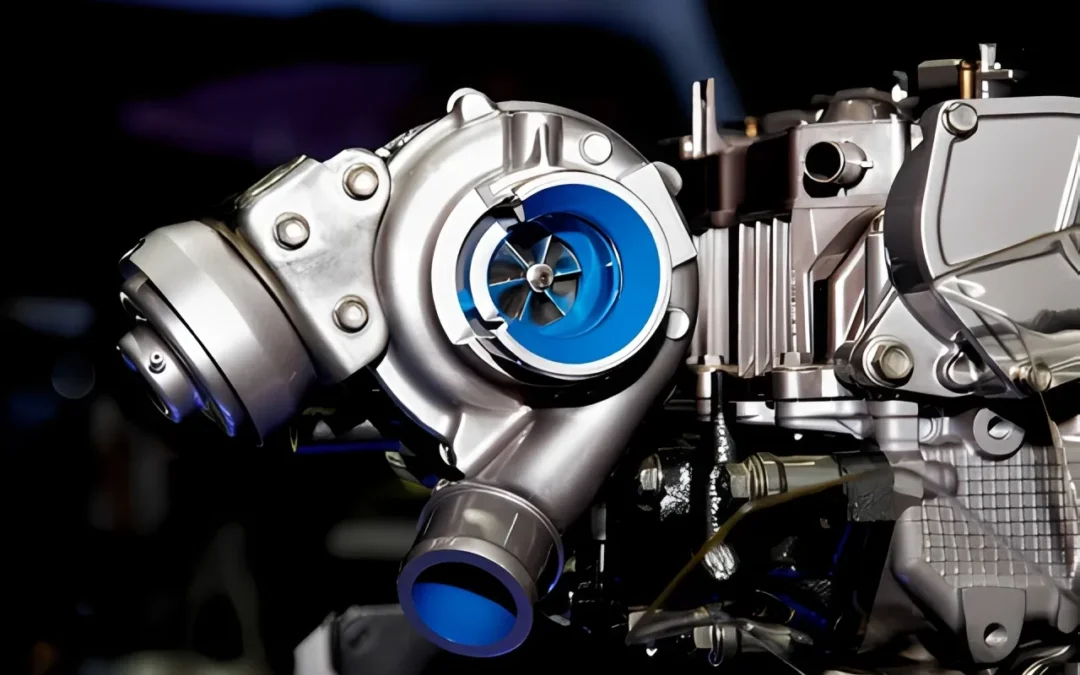
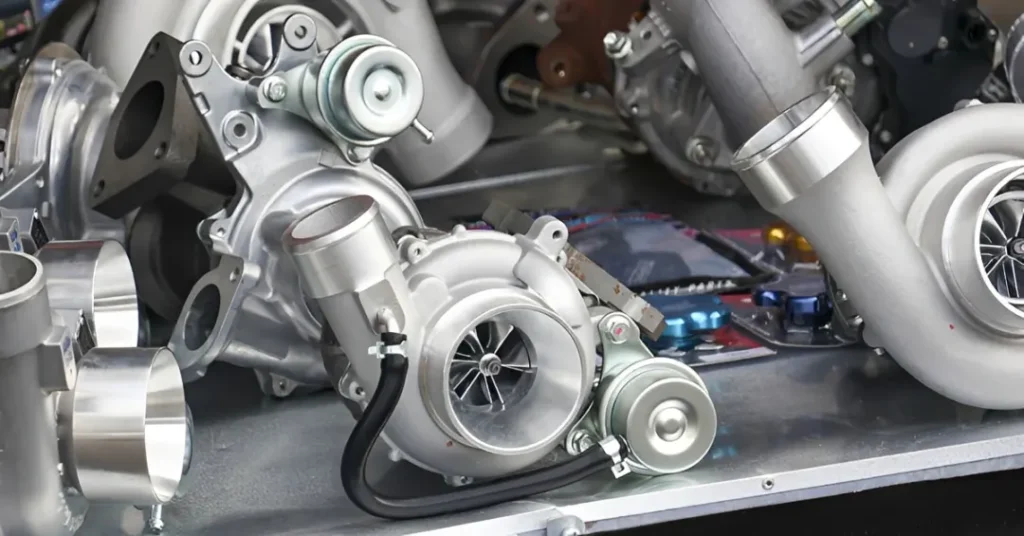
To fix a boosting issue, you first need to understand the basic function of the actuator within your turbo system. Think of the turbo actuator as the command center for your engine's exhaust flow.
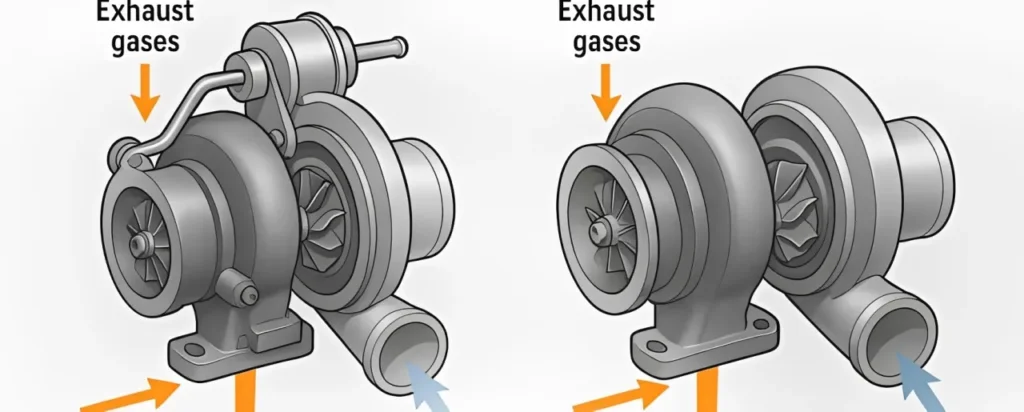
By controlling the position of the wastegate or the variable geometry turbine (VGT) vanes, the actuator regulates how fast the turbo's compressor wheel spins. This dictates the exact amount of boost pressure pushed into your engine.
Electronic vs. Pneumatic Turbo Actuators
- Pneumatic Actuators: Older or simpler systems rely on engine vacuum or boost pressure to move a diaphragm, which mechanically pushes or pulls a rod connected to the wastegate.
- Electronic Actuators: Modern vehicles rely heavily on electric motors. For example, modern 6.7L Cummins engines use a smart device that communicates directly with the engine's computer (the ECM) to precisely adjust the turbo's internal mechanisms in real-time.
Controlling Vane Position and Boost Pressure
In Variable Geometry Turbochargers (VGT), the actuator changes the angle of internal vanes to optimize exhaust flow at any RPM. When the actuator fails to move these vanes accurately, the engine either starves for air (underboost) or suffers from dangerous excessive pressure (overboost).
Turbo Actuator Symptoms of Failure You Should Never Ignore
Spotting failure symptoms early can save you from a costly complete turbocharger replacement.
Loss of Engine Power and Excessive Smoke
The most obvious sign of failure is a sudden loss of engine power, often accompanied by hesitation when accelerating. Because the actuator is failing to provide the correct air-to-fuel ratio, you may also notice higher fuel consumption and thick, excessive smoke pouring from the exhaust.
Turbo Lag and Unusual Noises
Listen closely to your engine. Whistling, rattling, or screeching noises can indicate actuator trouble or a related boost leak. A failing actuator struggles to maintain consistent pressure, resulting in severe turbo lag.
Check Engine Light and Diagnostic Codes
Modern engine computers are quick to flag boost control faults. If your system is compromised, it will trigger a check engine light and likely force the vehicle into a restricted "limp-home" mode.
Common Diagnostic Trouble Codes (DTCs)
| Diagnostic Code | Description | What It Means |
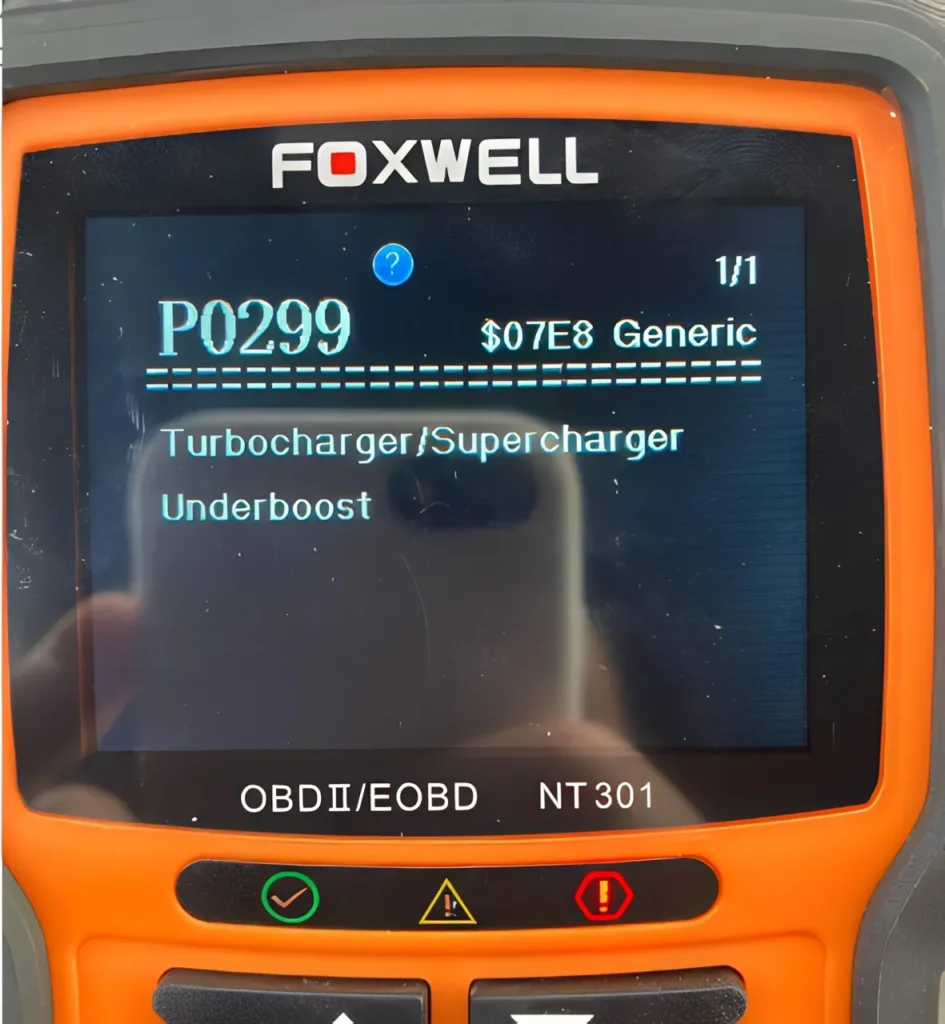
| P0299 | Underboost Condition | The actuator cannot close the wastegate or vanes enough to build pressure. |
| P0234 | Overboost Condition | The actuator is stuck closed, failing to relieve excess pressure. |
| P2563 | Boost Control Position Sensor Circuit | Points directly to an electronic position mismatch or a stripped internal gear. |
| P003A | Boost Control Position Exceeded Limit | Suggests mechanical wear, heavy soot buildup, or improper calibration limits. |
How to Test Performance Like a Professional Technician
Misdiagnosis is incredibly common. Many technicians mistakenly condemn the actuator when the real culprit is a simple boost leak, a stuck vane pack, or a faulty sensor.
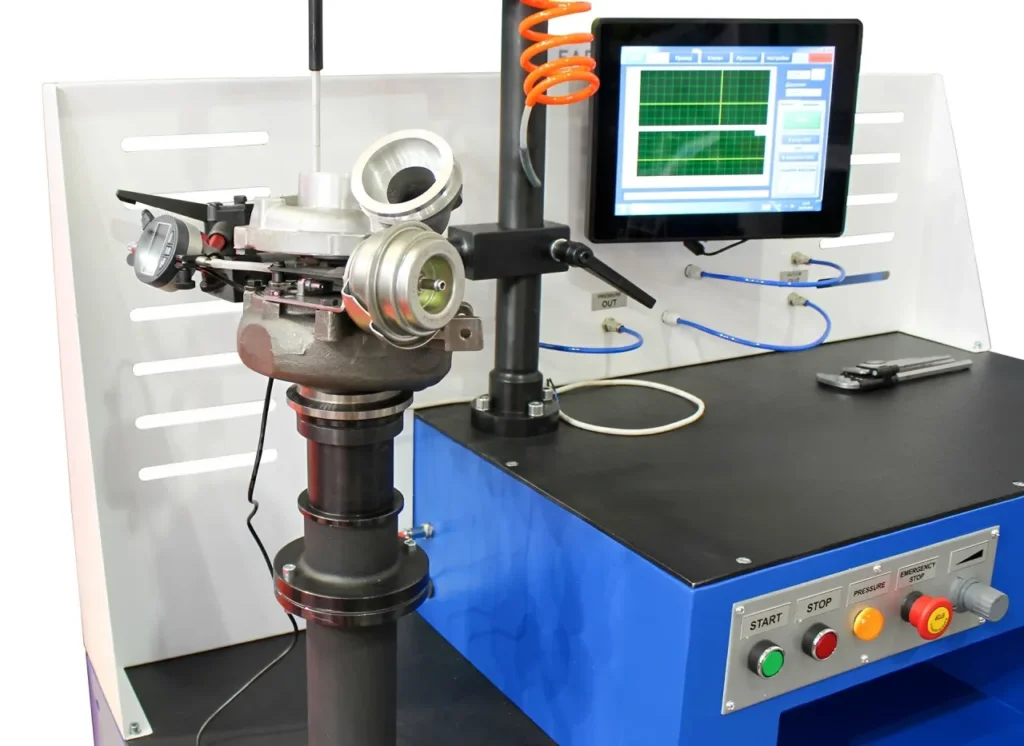
Diagnostic Tools Used for Testing
To correctly diagnose the system, professionals utilize OBD live data scanners, bidirectional control tools, and handheld vacuum pumps. Testing an electronic actuator begins with a simple visual and auditory check: turn the key to the "ON" position without starting the engine. You should hear and see the actuator smoothly cycle through its initialization sweep.
Professional Testing Framework
| Step | Action | Expected Result |
| 1. Scan Codes | Read DTCs and record freeze-frame data. | Identify specific circuit or performance faults. |
| 2. Live Data Check | Compare requested boost vs. actual boost on a scanner. | The actual pressure should closely track the ECU's requested pressure. |
| 3. Output Test | Command an actuator sweep using a scan tool. | You should hear the turbo pitch shift and see manifold pressure change. |
| 4. Mechanical Check | Inspect the turbo lever/vane mechanism by hand. | The lever should move smoothly without binding, grinding, or sticking. |
| 5. Rule Out Leaks | Inspect charge-air-cooler hoses and seals. | Confirm the system holds air pressure before replacing the actuator. |
When to Replace vs. Recalibrate
If the actuator motor clicks erratically or fails to sweep entirely, the internal electronics or gears are fried, requiring replacement. However, if the sector gear is simply misaligned following recent turbo maintenance, a software recalibration might resolve the issue without requiring a new part.
Electric Actuator Replacement Cost and Pricing Factors
Replacement costs vary drastically depending on your vehicle platform, the type of actuator, and whether you choose OEM (Original Equipment Manufacturer) or aftermarket parts.
Cost Breakdown: Parts, Labor, and Calibration
A replacement oil-controlled solenoid for a Ford Power Stroke or Chevy Duramax typically costs between $50 and $200 for the part, with minimal labor required. In contrast, large electronic motor actuators, like the Cummins HE300VG, run between $400 and $1,100 depending on the source, plus the cost of software calibration.
Actuator Pricing Context and Compatibility
| Vehicle/Engine Platform | Actuator Type | Price Estimate | Notes |
| Ram Cummins 6.7L | Holset HE300VG / HE351VE | $249 (Reman) - $899+ (New) | Requires strict electronic calibration post-install. |
| BMW N47D20 Engine | 797863-0026 / 6NW010430 | $89 - $125 (Aftermarket) | Often comes pre-calibrated from the factory. |
| Volvo C30/S40/S60 | G-35 / 757779-10 | $34 - $80 (Aftermarket) | Direct-fit electronic actuator gearbox. |
| Paccar MX13 | 2348189 PEX / 2037561 | $699 - $899 (OEM/New) | High-end VGT electronic actuator. |
| Ford Power Stroke 6.0L | Oil-Controlled Solenoid | $50 - $200 (Part only) | Driven by a 12-volt signal; easier labor access. |
Associated Parts and Long-Term Considerations
Do not forget the hidden costs of a proper repair: new mounting hardware, gaskets, and fluids. A complete installation kit with high-temperature gaskets and stainless steel bolts runs about $30. Clean, leak-free sealing surfaces matter just as much as the electronics.
Turbo Actuator Calibration for Diesel Engines: Best Practices
For many modern variable geometry setups, calibration is absolutely mandatory after a replacement. Calibration aligns the gears before the engine ever runs, allowing the ECM and the actuator to sync up and establish the "zero" position of the turbo vanes.
Diesel Actuator Calibration Phases
| Phase | Action Required | Importance |
| Pre-Alignment | Physically align the sector gear with the actuator teeth. | Prevents mechanical binding and gear stripping upon startup. |
| ECU Sync | Key-on, engine-off communication. | Establishes the electronic handshake between the vehicle and actuator. |
| VIN-Linked Setup | Software programming specific to the chassis. | Ensures emission compliance and correct fueling maps. |
| Final Learning | Actuator sweep test via scan tool. | Confirms full range of motion without triggering new error codes. |
Common Calibration Errors to Avoid
Improper calibration can cause immediate limp mode, poor boost control, or premature damage to the new actuator. Never attempt to manually force an electronic actuator arm into position by hand; this will instantly strip the delicate internal worm gears.
Expert Insights: Industry Perspectives on Reliability
Turbocharging system engineers continuously battle three main enemies: heat, vibration, and soot.
Trends in Electronic Actuator Design
We are seeing a massive shift toward smarter, more durable actuators with stronger internal gearboxes. However, even highly capable units are known to be failure-prone if the turbo itself is neglected. Strict maintenance intervals are critical.
The Importance of Integrated System Reliability
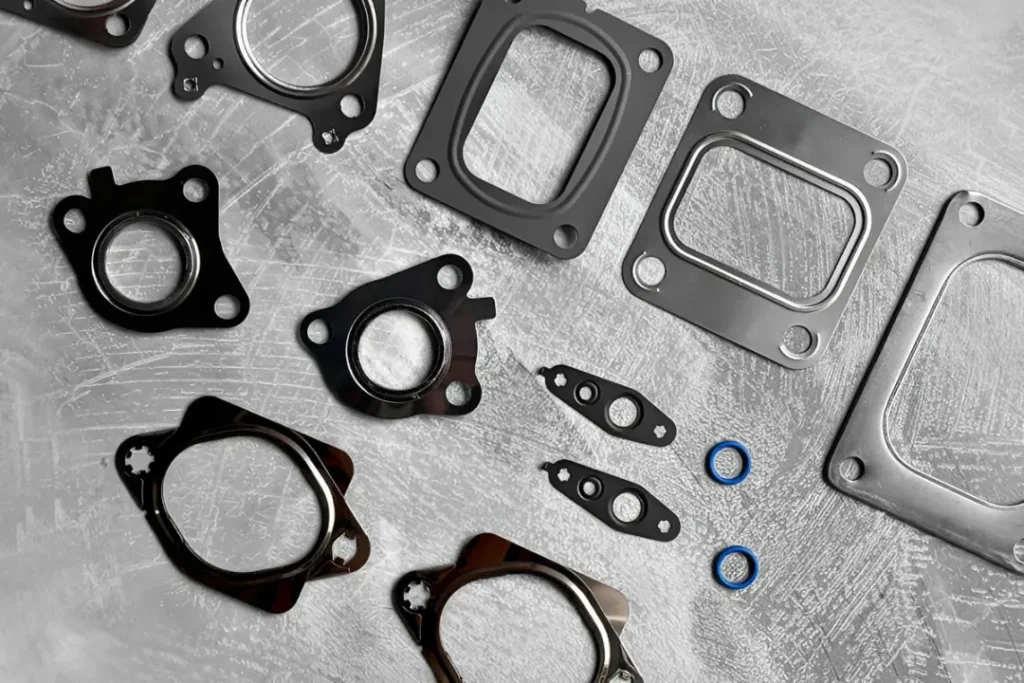
It is not just about the electronic motor; the entire air and exhaust system must be sealed properly. If exhaust gases leak past degraded gaskets and bake the actuator's electronics, failure is imminent.
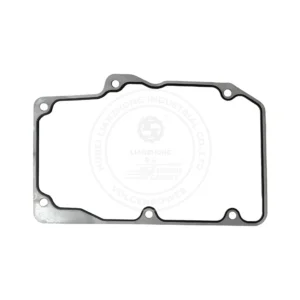
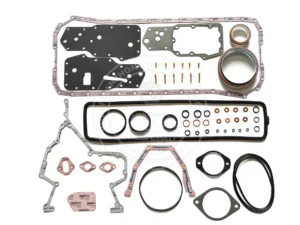
Maintaining perfect airflow and pressure stability across your entire engine is paramount. Just as a failing actuator disrupts airflow, issues upstream can also choke your engine—for instance, checking out our guide on [Throttle Body Gasket Replacement and Symptoms: Maximizing Engine Airflow] can help you maintain perfect intake pressure. High-quality solutions, like VPGASKET’s precision sealing components, help maintain pressure stability and significantly reduce turbo system leakage risks, safeguarding your expensive electronic actuator.
Usage Warnings and Maintenance Precautions
Connecting your actuator's lifespan to your daily maintenance habits will save you thousands of dollars.
- Carbon Buildup: Soot and carbon on the turbine side cause the VGT vanes to stick. When the vanes stick, the actuator motor overworks itself to push them and eventually burns out. Regular oil changes and using high-quality fuel reduce carbon deposits.
- Heat Management: Ensure all factory heat shields are reinstalled after maintenance to protect the plastic and electronic components from exhaust temperatures.
- Installation Quality: Recheck all torque specs, connector fits, and hose conditions. Avoid low-quality aftermarket actuators where calibration support is unclear.
Crucial Warning: Do not ignore early limp-mode events or repeated underboost codes. Continuing to drive a vehicle with a failing actuator can overspeed the turbocharger, leading to catastrophic engine failure.
FAQ
High-Value Technical Summary
| Topic | Extra Detail Included | Why It Helps |
| Diagnostics | P0299, P0234, P2563, limp mode, smoke, noise | Improves diagnostic depth and code recognition. |
| Testing | OBD live data, vacuum pump, actuator sweep | Gives technicians a practical, step-by-step workflow. |
| Cost | OEM vs aftermarket, labor, calibration, gaskets | Makes pricing expectations realistic and comprehensive. |
| Calibration | Pre-alignment, VIN-linked setup, ECU sync | Explains why part replacement alone may not solve the issue. |
How do I know whether the problem is the actuator or the turbo vanes?
Disconnect the actuator and test the mechanical lever on the side of the turbo by hand. If the lever moves freely, the vanes are fine, and the actuator or wiring is the issue. If the lever is seized, the turbo has internal carbon buildup.
Can I drive with a failing turbo actuator for a short time?
While you can technically drive in restricted limp-home mode, it is highly discouraged. Poor boost control can lead to excessively high exhaust gas temperatures (EGTs) or turbo over-speeding, which can destroy your engine.
Do all electric actuators need recalibration after replacement?
No, but most variable geometry diesel setups (like Cummins and Power Stroke) do. Some aftermarket passenger car actuators come pre-calibrated, but you should always verify the installation procedure with the manufacturer.
How long does a turbo actuator typically last?
Actuator lifespan depends heavily on driving conditions, maintenance, and engine type. Most robust OEM units should last upwards of 100,000 miles, provided the turbo system remains clean and properly sealed.
Related Products
Conclusion
Diagnosing a loss of power doesn't have to be a guessing game. By understanding the mechanical and electronic symptoms, following a strict testing framework, and budgeting accurately for replacement costs, you can restore your engine's efficiency safely and effectively.
Remember that your turbocharger is an ecosystem. Replacing a burned-out actuator will not solve the root cause if you have exhaust leaks, sticking vanes, or poor thermal management. Integrating high-quality sealing components—like those supported by VPGASKET engineering solutions—helps ensure stable turbo system operation, prevents heat-soak damage, and guarantees long-term reliability for your vehicle.