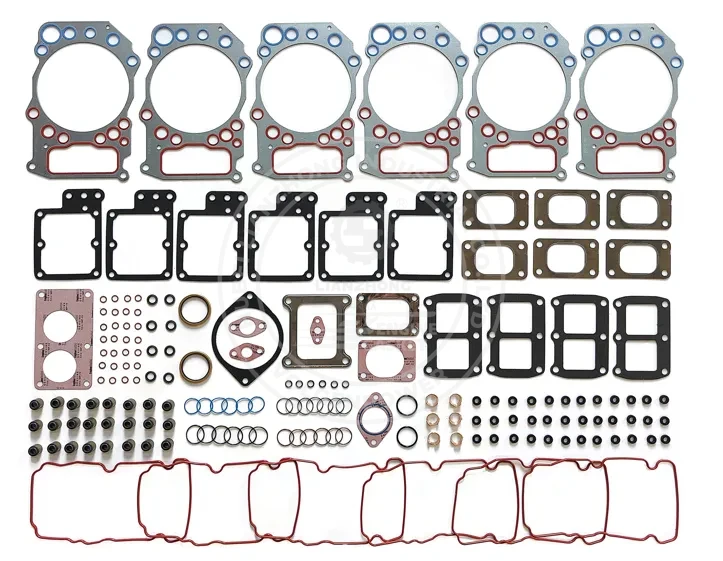
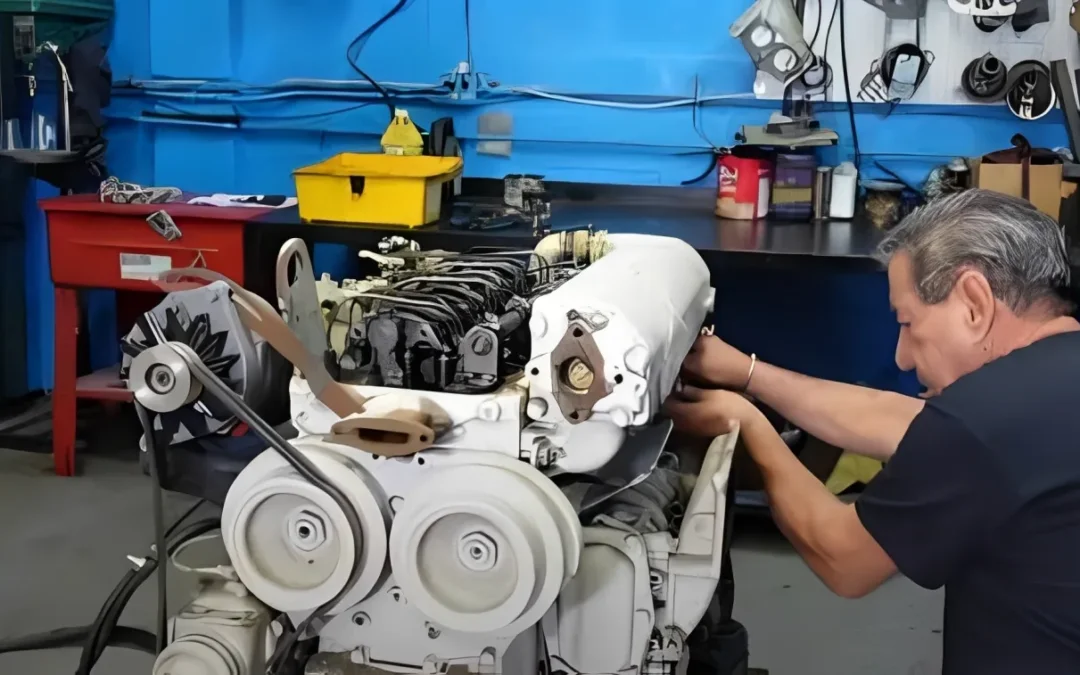
A fleet workshop fitted a new sealing set, restarted the truck, and found a fresh oil trace before the first road test. The parts buyer immediately questioned the gasket, while the technician suspected the joint. When a new engine gasket still leaks, replacing it again without a controlled diagnosis can repeat the failure and extend downtime. This guide separates nine installation causes from pressure, casting, and leak-path problems so a workshop or supplier can decide what to inspect before ordering another seal.
Estimated reading time: 9–11 minutes.
Table of Contents
New Engine Gasket Still Leaks: Nine Causes at a Glance
A new seal is only one part of a joint. The mating surfaces, fasteners, clamping load, fluid pressure, ventilation, and neighboring components must also be correct. The first task is to clean the area and identify the highest wet point; oil and coolant often travel along a casting edge, harness, or bolt before dripping somewhere that looks like the source.
| Cause | Typical clue | First verification |
|---|---|---|
| 1. Incorrect gasket or orientation | Port or bolt-hole mismatch | Compare part number and old/new geometry |
| 2. Residue on the flange | Leak begins at an isolated ridge | Inspect under oblique light |
| 3. Surface damage or distortion | Repeated leak at the same location | Straightedge and specified feeler-gauge check |
| 4. Contaminated joint | Oil or coolant under the sealing layer | Check cleaning and drying record |
| 5. Wrong torque value | Low or uneven clamp load | Verify calibrated tool and OEM data |
| 6. Wrong tightening sequence | Flange distortion or corner leak | Compare work record with service procedure |
| 7. RTV misuse | Extruded bead, uncured material, blocked passage | Check product instructions and bead size |
| 8. Excess crankcase pressure | Several seals sweating or recurring leakage | Inspect ventilation and measure pressure correctly |
| 9. Wrong source | Wetness begins above or beside repaired joint | Dye, powder, or controlled observation |
For a broader explanation of material choice before blaming a replacement part, read our earlier guide, The Ultimate Guide to Gaskets for Cars: Types, Materials, and When to Replace. It explains why joint design, temperature, fluid, and surface condition must match the sealing material.
For diesel applications, technicians can compare the required contents of an engine gasket set, a model-specific Cummins engine gasket range, and Cummins B Series gasket kits. Part selection must still be confirmed by engine serial number, build configuration, and the removed component—not by engine family name alone.
New Engine Gasket Still Leaks Because Preparation Was Wrong
New Engine Gasket Still Leaks with the Wrong Gasket or Orientation
Two gaskets can look similar while using different oil-feed holes, coolant ports, thicknesses, fire-ring geometry, or locating tabs. Before opening another package, place the removed gasket beside the replacement and compare every opening. Confirm the printed part number against the engine serial number and application notes. If an upper kit is required, examples such as the 4025107 upper engine gasket kit show why a kit reference should be matched to the precise engine configuration.
Orientation matters as much as identity. A gasket fitted upside down can cover a return opening even when the bolt pattern allows assembly. Never enlarge a hole or trim a sealing bead to make a questionable part fit. Stop, photograph the joint, and confirm the drawing or sample with the supplier.
New Engine Gasket Still Leaks on a Dirty or Distorted Surface
A thin layer of old coating can hold a new gasket away from the flange. Aggressive abrasive discs can create a different problem by rounding edges, removing material, or leaving debris in an oil passage. Fel-Pro’s technical guidance emphasizes that a surface can be too smooth or too rough for the gasket design and that out-of-spec surfaces require proper refinishing. Clean with tools and solvents approved for the component, protect open passages, and inspect after the solvent has evaporated.
| Surface check | Acceptable evidence | Escalate when |
|---|---|---|
| Cleanliness | No old coating, fibers, oil film, or loose abrasive | Material remains in grooves or passages |
| Flatness | Within the specific service limit | Light or gauge shows a repeatable gap |
| Finish | Matches gasket and OEM specification | Polished, deeply scratched, pitted, or corroded |
| Threads and holes | Clean, intact, dry or lubricated as specified | Fluid is trapped in a blind hole or threads are damaged |
New Engine Gasket Still Leaks After Torque Errors
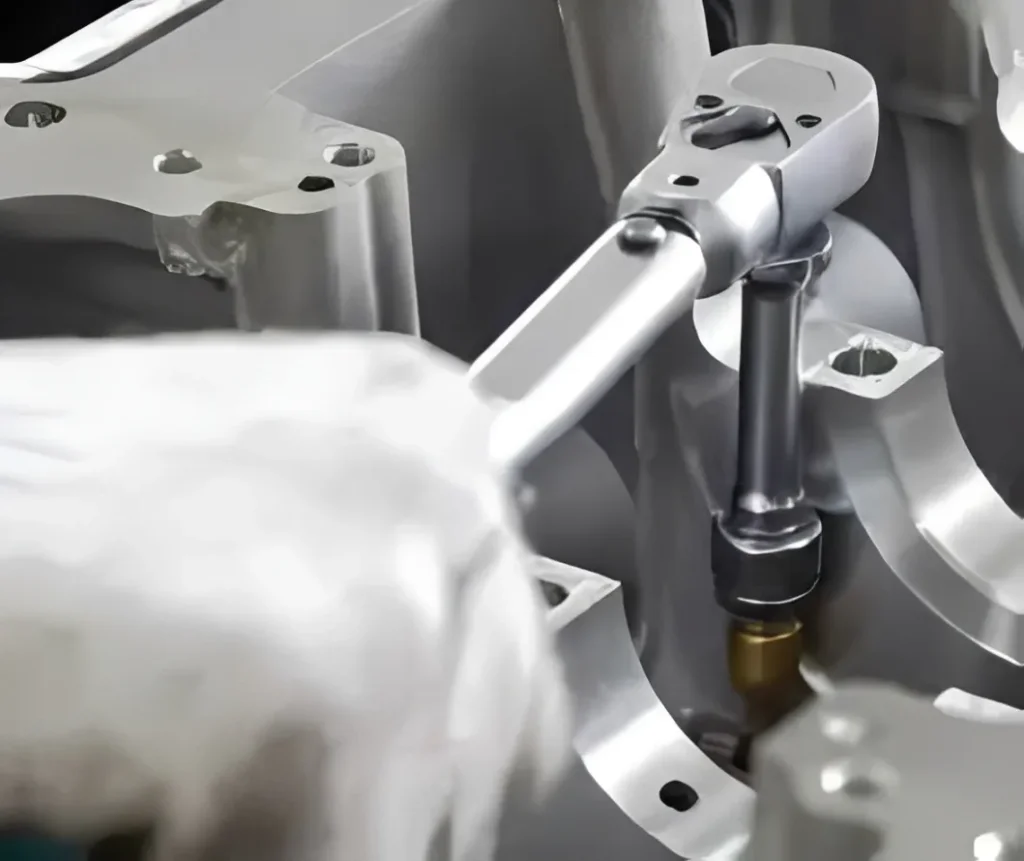
Torque is a controlled method of producing clamp load, not a guarantee by itself. A value copied from another engine, an uncalibrated wrench, contaminated threads, a reused torque-to-yield fastener, or a missed angle stage can all change the load. Follow the exact service information for the serial-numbered diesel engine and component being repaired.
| Fastener error | Why it causes leakage | Workshop control |
|---|---|---|
| Wrong specification | Clamp load is too low or component is overstressed | Record source, units, stages, and angle |
| Random sequence | Thin cover or housing pulls unevenly | Mark each fastener in the specified order |
| Dirty blind hole | Hydraulic lock gives false torque or cracks casting | Clean and inspect before assembly |
| Wrong lubricant | Friction differs from the specification | Apply only the specified thread condition |
| Reused one-time bolt | Bolt may not deliver intended clamp load | Check replacement rule and length limit |
“When a new engine gasket still leaks, I ask for the torque sheet before I ask for another gasket. Missing stages and mixed units are more common than most teams expect.”
David Mercer
Senior Engine Rebuild Technician
Do not automatically retorque. Some conventional joints require a scheduled retorque; many modern joints and torque-to-yield systems do not. Retightening without instructions can damage the gasket or fastener. Compare the engine assembly procedure with the gasket maker’s directions and the OEM service information.
New Engine Gasket Still Leaks After RTV Misuse
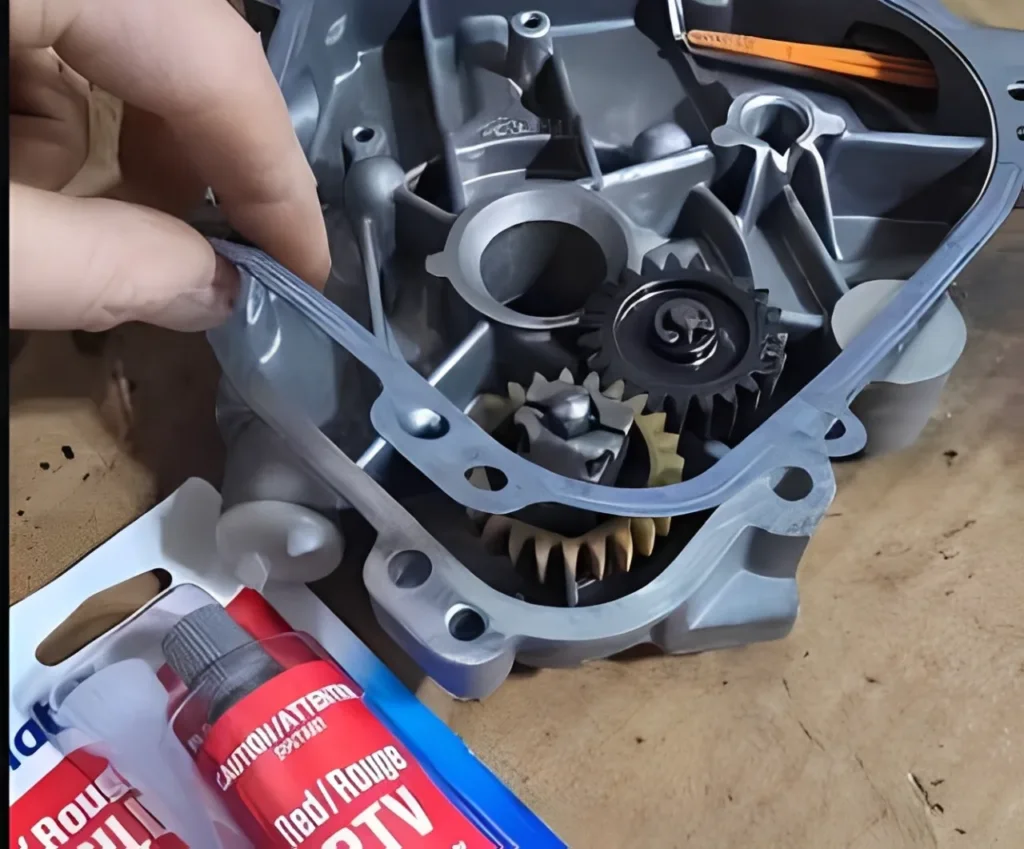
“More sealant” is not a safer repair. Permatex lists excessive product, incomplete preparation, wrong bead size, incorrect waiting time, and using gasket maker as a dressing on a conventional gasket among common mistakes. Excess RTV can squeeze inward and restrict an oil or coolant passage. Conversely, an interrupted bead or assembly after the permitted skin time can leave an unsealed path.
| RTV question | Correct decision basis | Unsafe assumption |
|---|---|---|
| Is RTV required? | Service manual and gasket instructions | Every paper or molded gasket needs dressing |
| Which chemistry? | Fluid, temperature, sensor, and flange compatibility | All silicones are interchangeable |
| How large a bead? | Product and joint instructions | A larger bead seals better |
| When can the engine run? | Product-specific assembly and cure schedule | All RTV is ready immediately or always needs 24 hours |
Many modern coated or molded gaskets are designed to install clean and dry. Use a sealant only at the specified joints, corners, or steps. If a lower kit such as the 3800487 ISB 5.9L lower gasket kit is being evaluated, identify which seals are pre-coated and which joints require a separate product before work begins.
Safety note: Wear chemical-resistant gloves and eye protection, provide ventilation, and follow the sealant safety data sheet. Keep uncured material and removed debris out of oil galleries and coolant passages. Never start the engine only to “force” uncured sealant to seat.
New Engine Gasket Still Leaks Because Pressure Is High
A correctly installed gasket can leak if the system pressure exceeds what the joint was designed to contain. A restricted crankcase ventilation path, severe blow-by, excessive oil level, blocked drain-back, cooling-system overpressure, or a distorted housing can move fluid past the easiest exit. If several fresh seals become wet, do not keep replacing them until pressure and ventilation are checked.
Use the engine manufacturer’s specified test equipment and limits. A general engine diagnostic process also helps prevent a sensor or running-condition complaint from being confused with a mechanical leak. These references provide system context; application-specific limits must come from the correct service documentation.
| Alternative fault | How it mimics gasket failure | Differentiating check |
|---|---|---|
| Leak above repaired joint | Fluid tracks downward | Trace the highest wet point after cleaning |
| Porous or cracked casting | Leak returns at same area with a new seal | Approved pressure or dye inspection |
| Warped cover | New gasket cannot maintain contact | Flatness check and bolt-hole distortion inspection |
| Blocked ventilation | Pressure pushes oil past several seals | Inspect routing and measure by specified method |
| Residual fluid | Old oil runs out after repair | Clean, dry, operate briefly, and recheck |
“Our second gasket stayed dry once the workshop cleared a restricted breather and verified the flange. The useful change was the inspection sequence, not a more expensive seal.”
Mark Benson
Fleet Workshop Manager
New Engine Gasket Still Leaks: Diagnostic Sequence
Do not disassemble the joint until basic evidence is captured. Early removal can erase the leak path, fastener position, and sealant pattern. The sequence below keeps the low-risk checks first.
- Confirm the fluid: engine oil, fuel, coolant, water, or assembly lubricant.
- Clean and dry the area using an application-safe method.
- Run or pressurize only by the approved service procedure and watch the highest wet point.
- Check neighboring hoses, plugs, sensors, covers, and connections.
- Review part number, orientation, surface-preparation record, sealant, cure time, fasteners, torque stages, and sequence.
- Check ventilation or system pressure when the pattern suggests it.
- Disassemble only after documenting the evidence; inspect the compression pattern on the removed gasket.
Interactive New-Gasket Leak Triage
Select the strongest observation. This tool organizes the next inspection; it does not replace OEM procedures.
New Engine Gasket Still Leaks: Post-Install Checklist
| Checkpoint | Before start | After controlled run |
|---|---|---|
| Part and orientation | Serial number, holes, tabs, thickness verified | Record retained |
| Joint and fasteners | Clean, staged, marked, torqued | No unauthorized retorque |
| Sealant | Correct type, location, bead, assembly time | Required cure schedule completed |
| Fluids and pressure | Correct level; ventilation connected | No abnormal pressure or contamination |
| Leak inspection | Area clean and dry | Highest wet point recorded |
For ordering, a documented sample, clear photographs, engine serial number, and removed-gasket measurements are more useful than the phrase “it still leaks.” VPGASKET supplies gasket repair kits and seals; a complete 3800558 upper engine gasket set listing illustrates the information buyers should verify before choosing a set. We do not recommend replacing unrelated engine components when a correctly identified seal is the only required part.
Relevant YouTube video: Permatex gasket maker proper-application videos on YouTube. Confirm that any demonstrated product and cure schedule match the product in your workshop.
New Engine Gasket Still Leaks FAQs
Should I Retorque When a New Engine Gasket Still Leaks?
Only when the exact service procedure calls for it. An unscheduled retorque can overload a gasket, cover, thread, or torque-to-yield fastener. First confirm the specification and the original tightening record.
Can Too Much RTV Make a New Engine Gasket Still Leak?
Yes. Excess material can prevent uniform seating, squeeze into passages, or cure incorrectly. Use only the specified product, locations, bead size, assembly window, and cure schedule.
How Soon Can I Run the Engine After Installation?
Follow the gasket, sealant, and OEM instructions. Cure requirements vary by chemistry and joint; a universal waiting time is not reliable. Filling or running too soon may disrupt an uncured bead.
Does a New Engine Gasket Still Leak Because the Part Is Defective?
It is possible, but do not assume it. Preserve the gasket and packaging, document the leak origin, and verify part identity, surface condition, fasteners, sealant, pressure, and neighboring leak paths before assigning cause.
What Should a Supplier Request for a Repeat Leak?
Request engine serial number, application, part number, photographs of both surfaces and the removed gasket, fluid identification, torque procedure, sealant record, operating time, and the highest observed wet point. That evidence turns “new engine gasket still leaks” into a solvable technical case.
Conclusion: When a new engine gasket still leaks, the fastest response is not automatic replacement. Confirm the source, match the part and orientation, measure the joint, review torque and sealant practice, and rule out excess pressure. A disciplined record lets the workshop correct the real cause and lets VPGASKET help identify the appropriate gasket repair kit or seal without overselling unrelated parts.